Tracking custom events
Before you begin
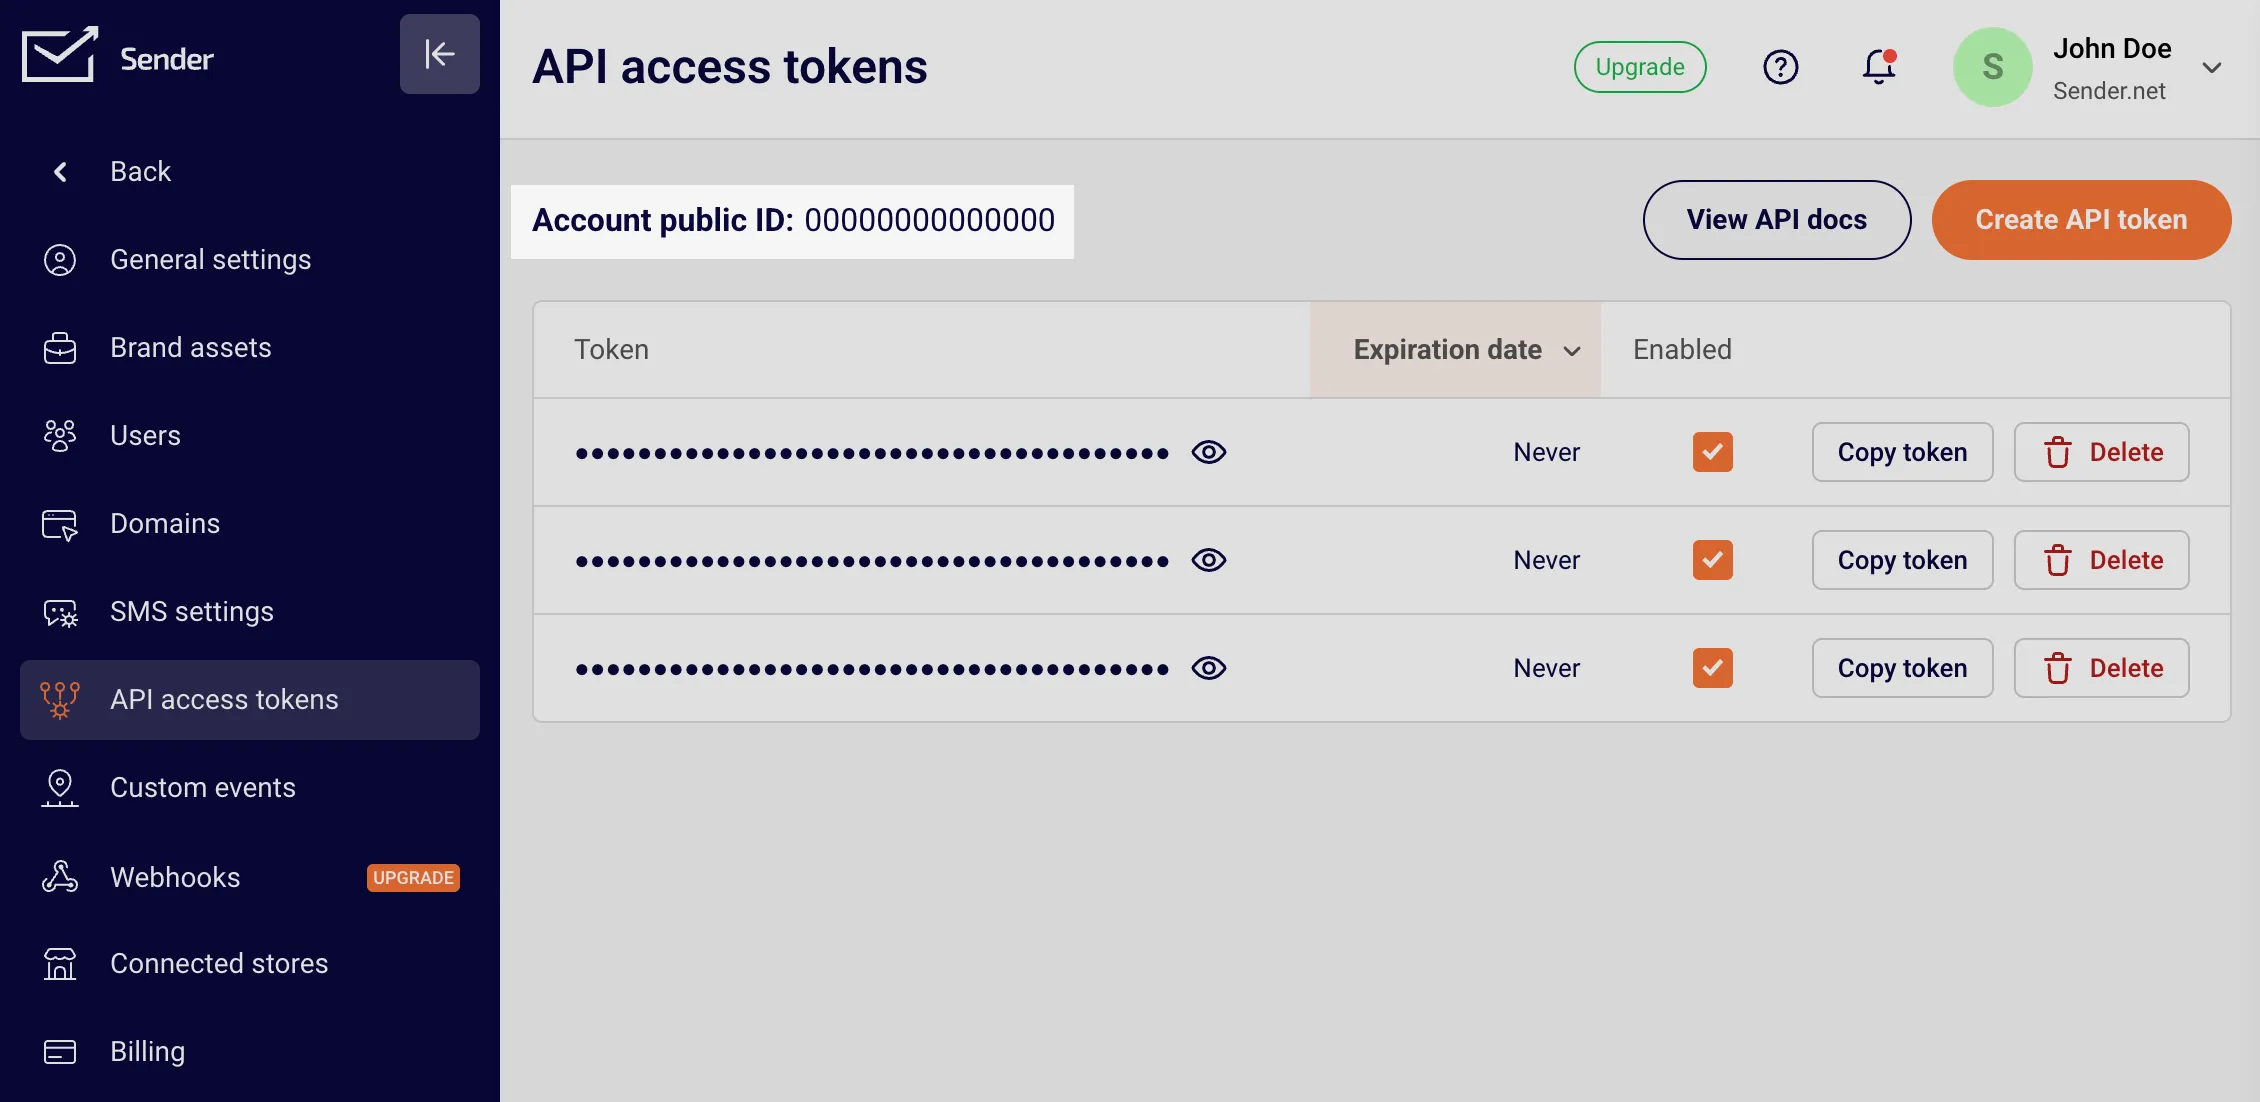
Section titled “Before you begin”To use the tracking methods on your website, you’ll need your Account public ID. You can find it in your Sender.net Account settings section under API access tokens.
Once you have your Account public ID, add the following snippet to your website’s main template so it is automatically included on every page. Replace YOUR_ACCOUNT_PUBLIC_ID with your actual Account public ID.
<script>  (function (s, e, n, d, er) {    s['Sender'] = er;    s[er] = s[er] || function () {      (s[er].q = s[er].q || []).push(arguments)    }, s[er].l = 1 * new Date();    s[er].on = function(event, callback) {            s[er].listeners = s[er].listeners || {};            (s[er].listeners[event] = s[er].listeners[event] || []).push(callback);    };    var a = e.createElement(n),        m = e.getElementsByTagName(n)[0];    a.async = 1;    a.src = d;    m.parentNode.insertBefore(a, m)  })(window, document, 'script', 'https://cdn.sender.net/accounts_resources/universal.js', 'sender');
sender('YOUR_ACCOUNT_PUBLIC_ID');</script>API basics
Section titled “API basics”To make calls to the Sender.net API and store information about contacts, you’ll use the sender object that’s automatically added by the Sender.net script.
// Identify a contact
// Track an event for an identified contactsender.track('create_song', { title: 'The Show Must Go On' });Since the SDK loads asynchronously, you can use the ready event to ensure it’s fully initialized before calling any tracking methods:
sender.on('ready', () => {});This is especially useful when your tracking code needs to run early in the page load or when you want to guarantee the SDK is available.
Identify contacts
Section titled “Identify contacts”The identify method lets you associate the current website visitor with a known contact in your Sender.net account. You can identify by email or phone number.
Identify by email:
Identify by phone:
sender.identify({ phone: '+1234567890' });Once a visitor is identified, all subsequent track calls in the same session will be attributed to that contact.
In addition to identification, Sender.net will automatically determine what website each person was first referred from for attribution tracking, and a contact’s location based on where they access your website.
Track events and actions
Section titled “Track events and actions”The track method allows you to record events and actions contacts take on your website. Pass the event name as a string, and an optional object of properties associated with that event.
For example, you could track when someone views a product, starts a checkout, or completes a purchase — including relevant details like item names or order values.
Sender.net’s event tracking is flexible, so you can customize it to capture what matters most to your business. The track method understands different data types, so you can use strings, numbers, and booleans as property values.
// Track an event with propertiessender.track('product_viewed', {  name: 'potato',  category: 'Vegetables',  price: 1.99});
// Track a simpler event with no propertiessender.track('newsletter_subscribed');Promise support
Section titled “Promise support”Both identify and track are asynchronous operations and return promises. This gives you the ability to wait for tracking data to be sent before moving forward with other actions on your page.
// Wait for identify to complete // Safe to assume the contact has been identified});This is especially helpful when you need to ensure tracking is recorded before a page transition or when coordinating multiple tracking calls:
// Chain multiple tracking operations .then(() => sender.track('page_visited', { page: 'pricing' })) .then(() => { // Everything has been tracked, now redirect window.location.href = '/checkout'; });